The Nest Thermostat takes half an hour to recharge. But if the battery is fully drained, It can take as long as 2 hours to recharge. The Thermostat’s battery is designed to provide sufficient power to operate the device for an extended period, typically lasting several hours or even days. The charging time depends on factors such as the voltage supplied by the HVAC system and the usage patterns of the thermostat.
The Google Nest Thermostat is a smart climate controller that efficiently manages your home’s heating and cooling systems. It is primarily powered by the electrical wiring of your home or building through the C-wire (common wire) connection. It receives a continuous power supply If your Nest Thermostat is properly connected to the C-wire. And there is no need for charging. The thermostat remains operational as long as it is connected to the wiring.
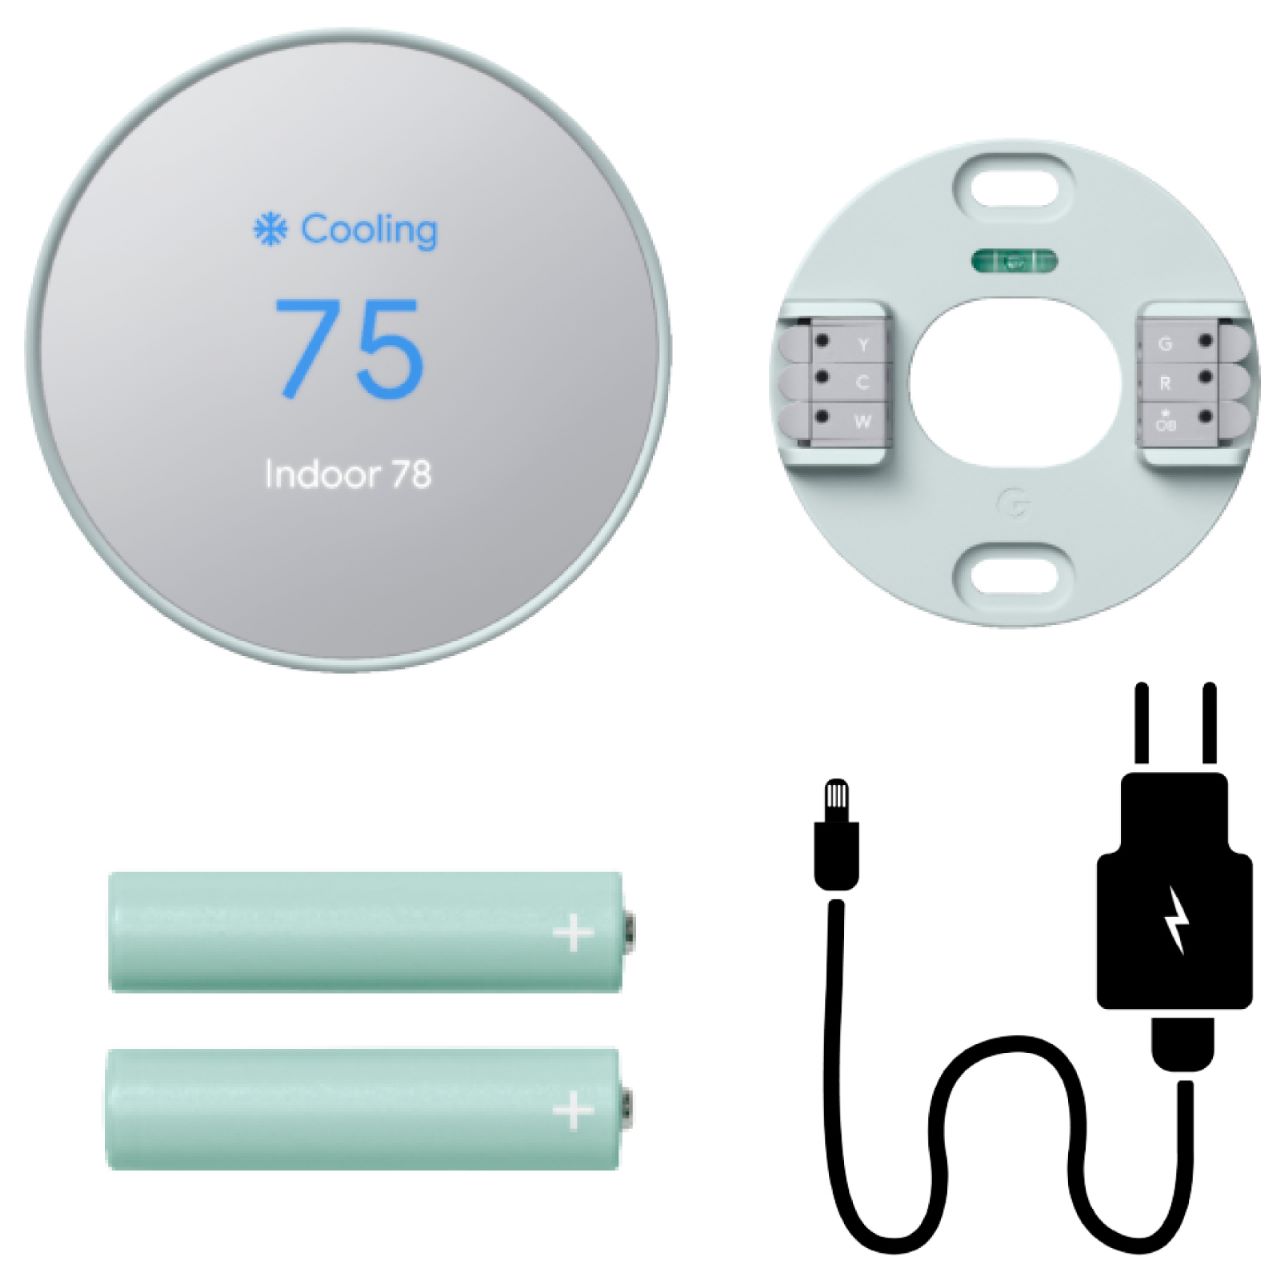
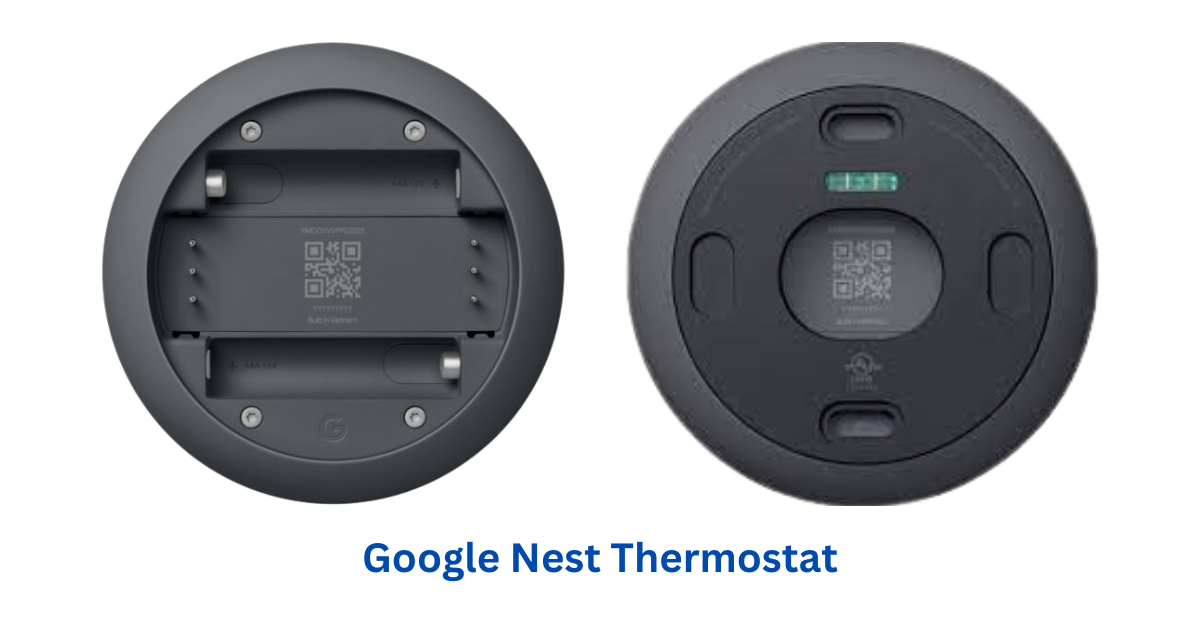
Description of Nest Thermostat’s Battery
Some Nest thermostat is powered by an internal rechargeable battery. This battery serves as the primary source of power for the device. Allows it to operate independently without relying solely on external power sources. The battery is an essential component that enables the Nest thermostat to function seamlessly and provide accurate temperature control.
Battery Capacity and Power Requirements
The Nest thermostat’s battery has a specific capacity that determines its energy storage capabilities. The capacity of the battery varies depending on the model and generation of the Nest thermostat. It is designed to provide sufficient power to operate the device for an extended period. Typically it lasts several hours or even days. Depending on usage patterns and settings.
In terms of power requirements, the Nest thermostat is designed to operate on low voltage. It is compatible with standard 24V HVAC systems commonly found in residential settings. This low-voltage requirement ensures safe and efficient operation while minimizing energy consumption.
Charging Mechanism of the Nest Thermostat
The charging mechanism of the Nest Thermostat involves the integration of power sources, control circuitry, and intelligent charging technology. Here’s an explanation of the charging mechanism of the Nest Thermostat:
Power Sources: The Nest Thermostat can be charged through two primary power sources:
a. HVAC System Wiring: The thermostat can draw power from the low-voltage wiring of your HVAC (Heating, Ventilation, and Air Conditioning) system. It connects to the C (common) wire, which provides a continuous power supply for charging the device.
b. Dedicated Power Adapter: Alternatively, the Nest Thermostat can be charged using a dedicated power adapter. This adapter connects to a standard electrical outlet and provides the necessary power to charge the thermostat.
Control Circuitry: The Nest Thermostat incorporates control circuitry that manages the charging process. It detects the presence of a power source and controls the flow of electricity to the internal battery. Regulating the charging rate to ensure efficient and safe charging.
Intelligent Charging Technology: The charging mechanism of the Nest Thermostat includes intelligent charging technology. This technology continuously monitors the battery’s charge level and adjusts the charging process accordingly. It optimizes the charging rate to maximize battery health, preventing overcharging and minimizing energy consumption.
Charging Status Indicators: The Nest Thermostat features charging status indicators on its display. Such as a battery icon or a charging symbol, provide visual feedback on the current charging status. They indicate whether the device is actively charging, and the charge level. Or if the battery is fully charged.
How to charge a Nest thermostat?
To charge a Nest Thermostat, you don’t need to plug it in like a traditional device. Nest Thermostats are designed to be powered by the low-voltage wiring of your HVAC (heating, ventilation, and air conditioning) system.
Here is a brief overview of how to charge a Nest Thermostat:
- Turn off the power: Turn off the power to your HVAC system before starting any work from the circuit breaker or fuse box.
- Remove the old thermostat: Carefully detach the existing thermostat from the wall and disconnect the wiring.
- Mount the Nest Thermostat base: Install the Nest Thermostat base plate on the wall using the provided screws.
- Connect the wiring: Connect the labeled wires from your HVAC system to the corresponding terminals on the Nest Thermostat base. Follow the instructions provided in the installation guide specific to your Nest Thermostat model.
- Replace the battery: Take out the old battery from the compartment and replace it with a new one of the same type and specifications. Ensure that you insert the battery correctly with the correct polarity (+/-) orientation.
- Attach the Nest Thermostat: Snap the Nest Thermostat onto the base plate. It should fit snugly.
- Restore power: Turn the power back on at the circuit breaker or fuse box.
Once the Nest Thermostat is properly installed and connected, it will draw power from the HVAC system’s wiring. This eliminates the need for a separate charging process. The Nest Thermostat will function and control your heating and cooling system using the power supplied by the HVAC system.
How to charge a Nest thermostat battery?
Some Nest Thermostats use External Batteries
The thermostat acts as a sophisticated climate controller. And allowing you to manage and customize the climate conditions in your living space for optimal comfort and energy savings. The regular Nest Thermostat uses external batteries that can be replaced. The Nest Learning Thermostat has an internal battery and can be charged with a micro USB cable. Both thermostats receive power from the HVAC system. The regular Nest Thermostat also uses AAA alkaline batteries as a backup. The Nest Learning Thermostat can be manually charged following specific steps.
1. You’ll first need to remove the Nest Learning Thermostat display from its base. You can grasp the display’s metal outer ring with your fingers and pull directly away from the wall, leaving the base behind.
2. Plug it into a USB port on your computer or a wall charger like the one you use to charge your phone and plug the other end of the Micro-USB to the Micro-USB port on the rear end of the Nest Learning Thermostat display.
3. A blinking light on the front of your thermostat confirms that it’s charging. The color of the light will depend on the battery level of the thermostat when you charge it. Usually, your thermostat will take about half an hour to recharge. But if the battery is fully drained, it can take as long as 2 hours to recharge.
How to tell if a nest thermostat is fully charged?
You can determine if your Google Nest Thermostat is fully charged by following these steps:
- Power source: If your Google Nest Thermostat is properly connected to the C-wire (common wire) of your HVAC system, it receives a continuous power supply. In this case, the thermostat does not rely on battery power and is always powered, indicating it does not require charging.
- Functionality: If your Google Nest Thermostat is operating normally, responding to adjustments, and controlling your HVAC system effectively, it indicates that it has sufficient power, either from the continuous power supply or the charged battery.
- Battery icon: If your Google Nest Thermostat is running on battery power due to the absence of a C-wire or temporary power loss, you may see a battery icon on the display. If the battery icon is full or close to full, it suggests that the battery is adequately charged. However, please note that the battery icon may not provide an exact measurement of the battery level.
Factors Affecting the Charging Time
Indeed, several factors can influence the charging time of a device. Although Nest Thermostats do not have a battery that requires charging, we can explore these factors in a general context:
- Initial charge after installation: The initial charging time can vary when installing a device with a rechargeable battery. It depends on the battery capacity and the charging method specified by the manufacturer. Following the recommended initial charging instructions ensures the battery reaches its optimal performance level.
- Battery depletion and recharging cycles: The battery of a rechargeable device may deplete due to usage. The duration between charges depends on factors such as the device’s power consumption, the type of activities performed, and the battery capacity. The more frequently the device is used and its battery is drained. And more often it will need to be recharged.
- Power source and charging rate: The way you charge a device can affect how long it takes to charge. Different charging methods like using a wall outlet, USB port, or wireless charging pad may have different speeds. The device itself, including its charging capabilities and technologies, can also impact the charging time.
In conclusion, the charging time for a Nest thermostat depends on whether it is wired or battery-powered. Wired Nest thermostats receive continuous power from the electrical wiring of your home. Eliminating the need for manual charging. Battery-powered Nest thermostats charge automatically. The specific charging time may vary based on the battery capacity and charging circuitry of the device. It is advisable to consult the official Nest documentation or contact Google Nest customer support For accurate information.